In this post, I'm going to walk you step by step through my process of how to make crispy tofu on the stovetop.
How to Make Tofu Taste Good
When I first started my transition to a fully plant-based diet, I started to experiment with how to cook tofu. I saw so many pictures of beautiful looking, crispy dishes, usually covered with a delicious looking sauce and thought it would be super easy to replicate (lol).
It took me a while to crack the code on how to make tofu taste good, but I finally did it! Today I want to help you make it the way that I do. So, let's get started and learn how to make tofu crispy.
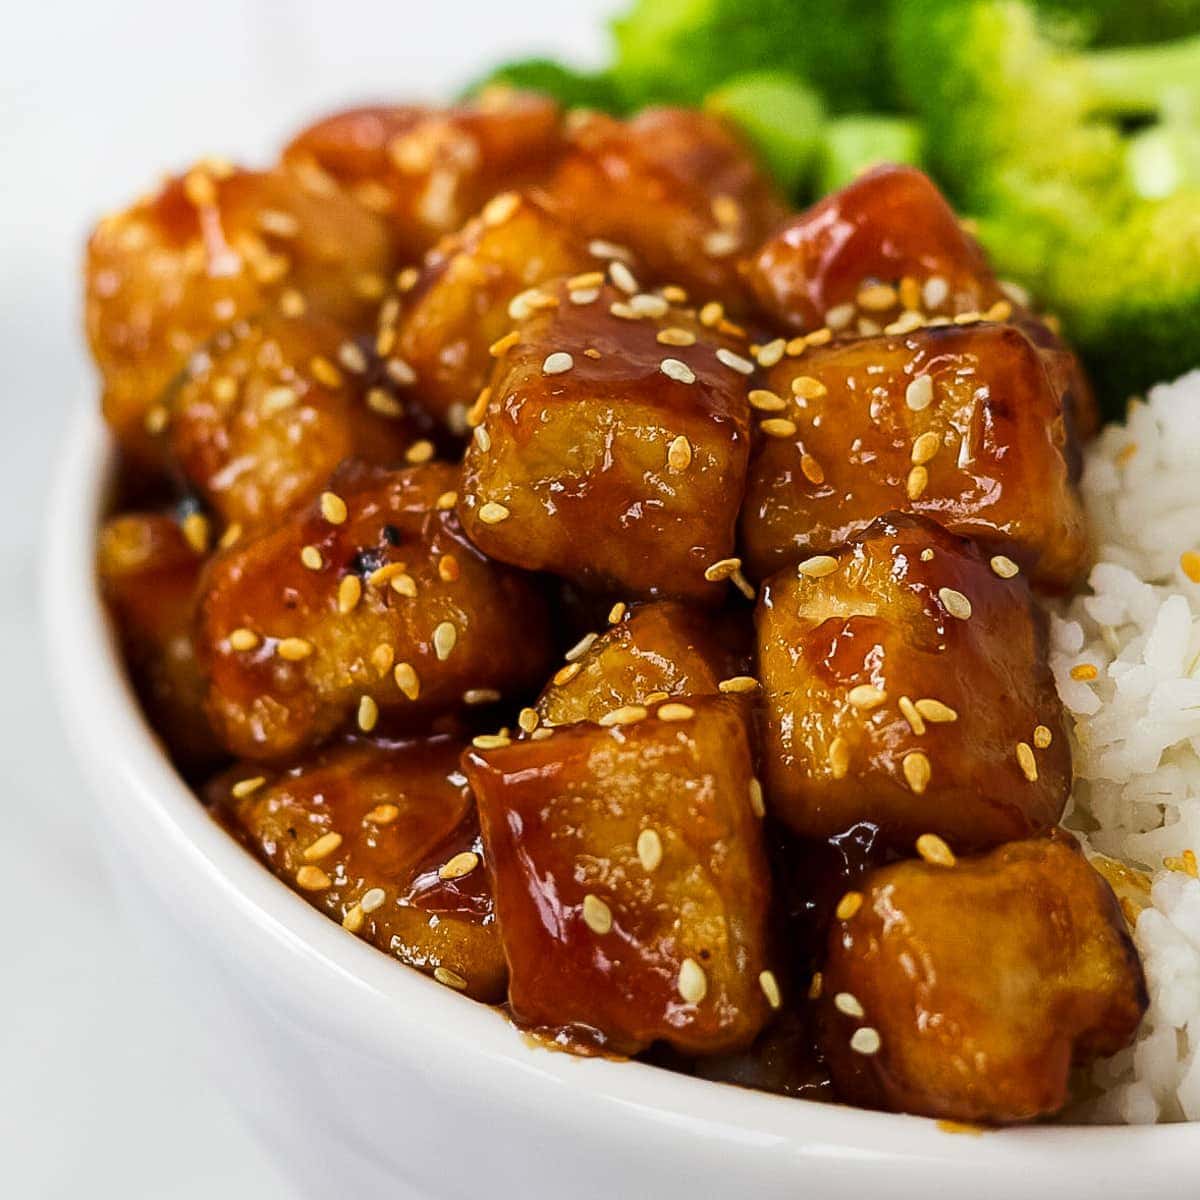
Once you've made tofu following this recipe, my Sesame Tofu has a delicious sauce to try!
Step by Step Instructions

Step 1: Drain and Rinse. Start with a block of extra firm tofu. (This guide to different tofu varieties talks about the different textures and when to use them.) I always open the packaging, remove the tofu, and rinse it in cool water.
Step 2: Wrap. Either use your tofu press (if using a press, use it according to equipment instructions and move down to step 4) or wrap your tofu in a clean dish towel.
Step 3: Press. Now you'll want to set a cutting board or baking tray on top of your wrapped tofu and add a few pounds of weight. I usually stack a cutting board with several cookbooks on top of it.
Leave this for at least 30 minutes. This is going to help squeeze out a significant amount of moisture to give you a more delicious and less soggy texture. It's important to note that liquid will leak out and most likely bypass the dish towel, so you might want to do this in a sink or on an empty counter.

Step 4: Cut. Cut the tofu into small pieces. I usually like to do half inch cubes, sometimes I cut them a half inch by a quarter inch to make a thinner rectangle shape.
Step 5: Freeze. OPTIONAL STEP if you have extra time. Recently I've been freezing my tofu to help remove even more moisture. Place it in a bag or an airtight container and freeze for about an hour.
Place the container in the fridge after to thaw. Then pat out any extra liquid.
Step 6: Coat in Cornstarch. In this step we will toss the tofu in cornstarch and any preferred seasoning. This recipe only uses cornstarch to keep things neutral. You can add any preferred seasoning to the cornstarch and mix together before tossing everything together if you would like.
Evenly coat all pieces in the cornstarch and then shake off any excess cornstarch.

Step 7: Cook. Heat your neutral oil of choice (I use extra virgin olive oil or avocado oil) in a nonstick pan over medium-high heat. Once it's heated, carefully add the tofu to the pan and cook for about 2-3 minutes on each side, adjusting your heat as necessary.
You should have a crispy consistency on all sides.
Step 8: Add Sauce. If you are using sauce, add it to the pan to thicken and toss your tofu in it until it is evenly coated.
Step 9: Enjoy! Let your everything cool slightly, plate and serve right away for best results.

If you are wondering how to serve tofu, I usually serve it over a bed of rice, on a salad, or in a power bowl.
It would pair nicely with my Spicy Peanut Noodles or my Refreshing Sesame Salad.

How to Make Tofu
Equipment
- Nonstick Pan
Ingredients
- 14 ounce extra firm tofu 1 package, organic
- ¼ cup cornstarch
- 2 tablespoon extra virgin olive oil can substitute avocado oil
Instructions
- Remove the tofu from its packaging. Drain the liquid in the container and rinse in cool water.
- Wrap the tofu in a clean dish towel.
- Place a cutting board and several books or several pounds of weight on top to press the tofu. You can use a tofu press instead if you have one. Press for 30 minutes.
- Cut your tofu into small pieces, I usually cut them into ½ inch cubes.
- Optional step for removing extra moisture and better consistency: place your tofu in a bag or airtight container and place in the freezer for about an hour. Once frozen, move to the fridge to defrost. Pat to remove any excess moisture.
- Coat the tofu pieces in cornstarch. Once evenly coated, shake off any excess cornstarch.
- Heat the olive oil in a nonstick pan over medium-high heat. Add the tofu to the pan and carefully coat in the oil. Let each side cook for 2-3 minutes until each side is crispy. Adjust your stovetop heat if necessary.
- Once your tofu has cooked and all sides are crispy, add any desired sauce to the pan, heat, and evenly coat the tofu.
- Let cool slightly, and serve.
Notes
Nutrition
If you try this recipe please leave a star rating below, this helps others find my recipes.
If you snap a picture and share it on Instagram be sure to tag me @plantedinthekitchen or use #plantedinthekitchen in the caption for the chance to be shared on my story!


Leave a Comment