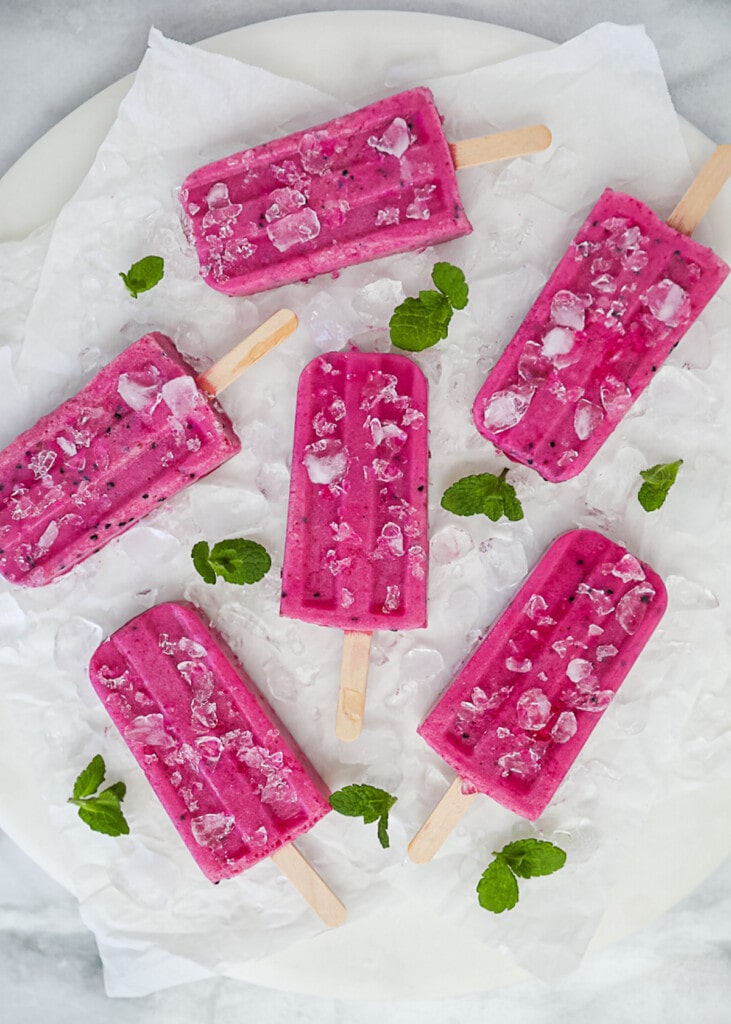
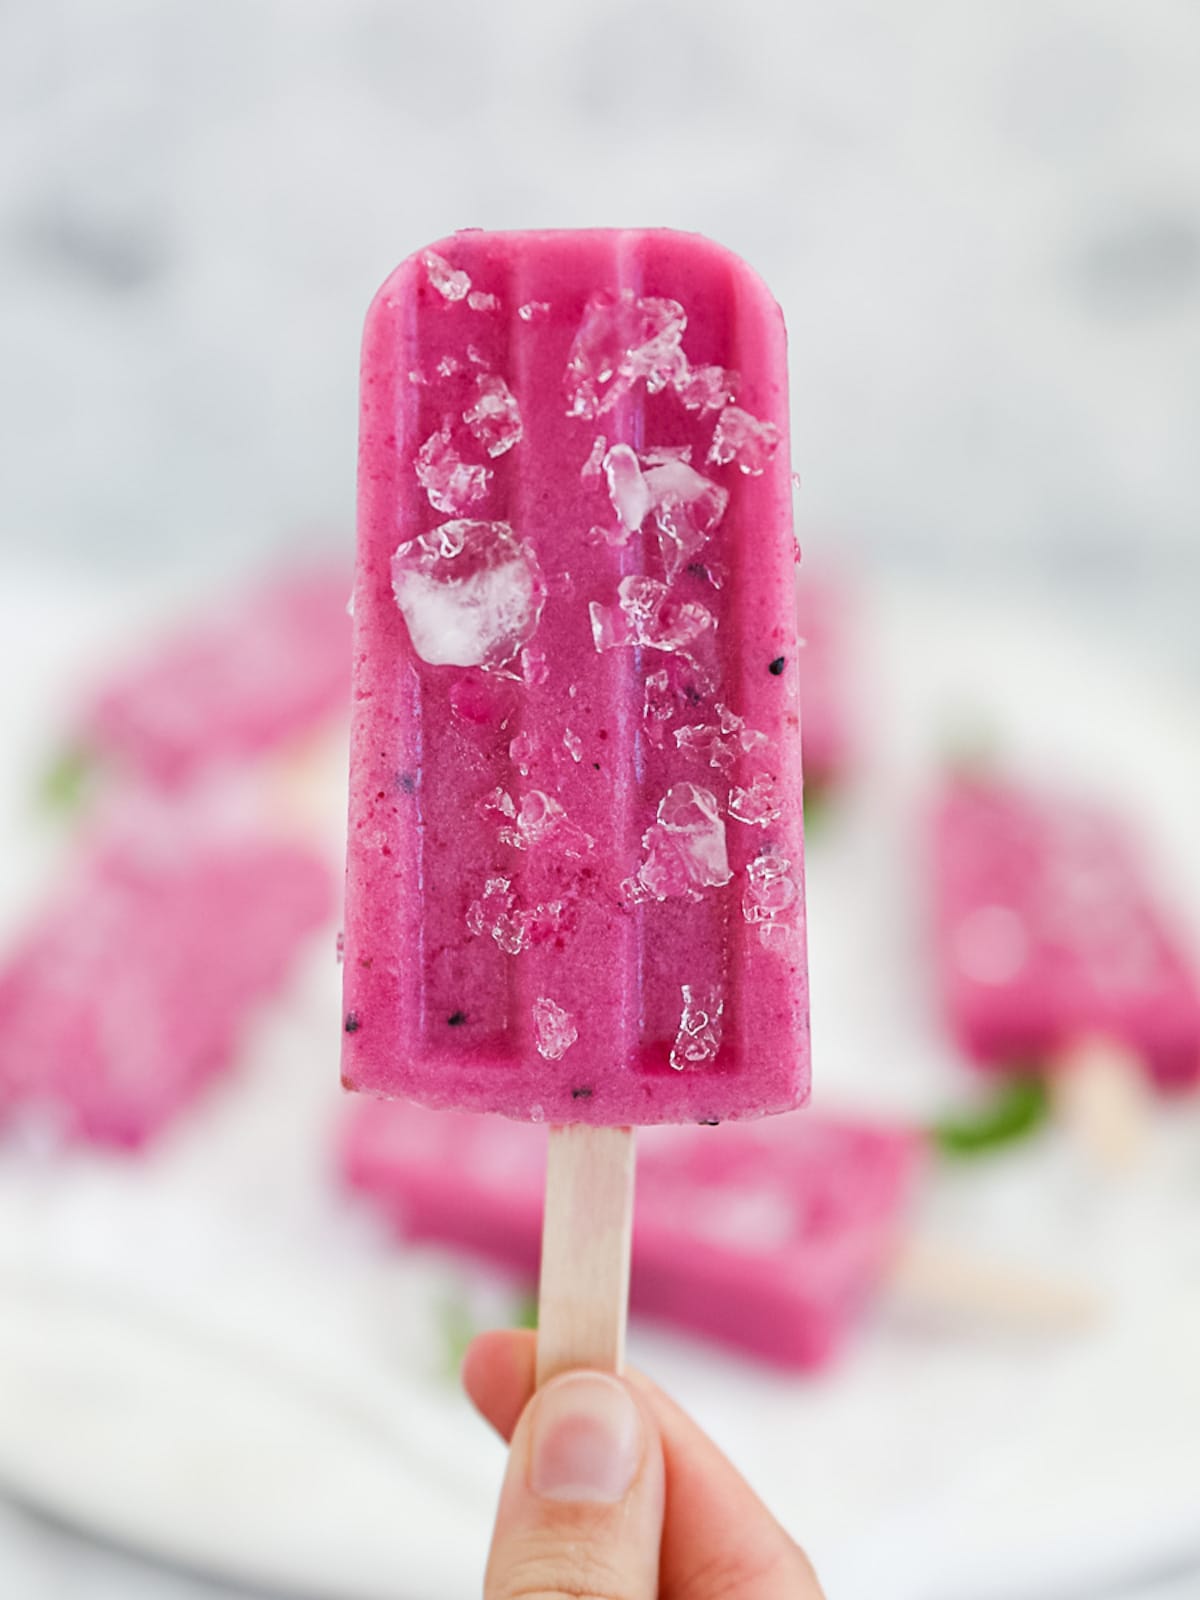
These refreshing homemade dragon fruit popsicles are bursting with sweet flavors and make the perfect warm weather treat.

These bright pink ice pops get their natural pop of color from dragon fruit, also know as pitaya.
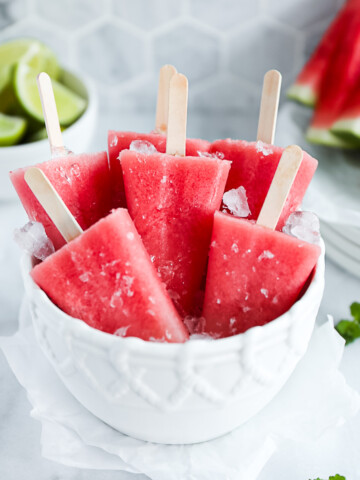
Be sure to try my Blueberry Popsicles and Watermelon Popsicles next!
Jump to:
Ingredient Notes
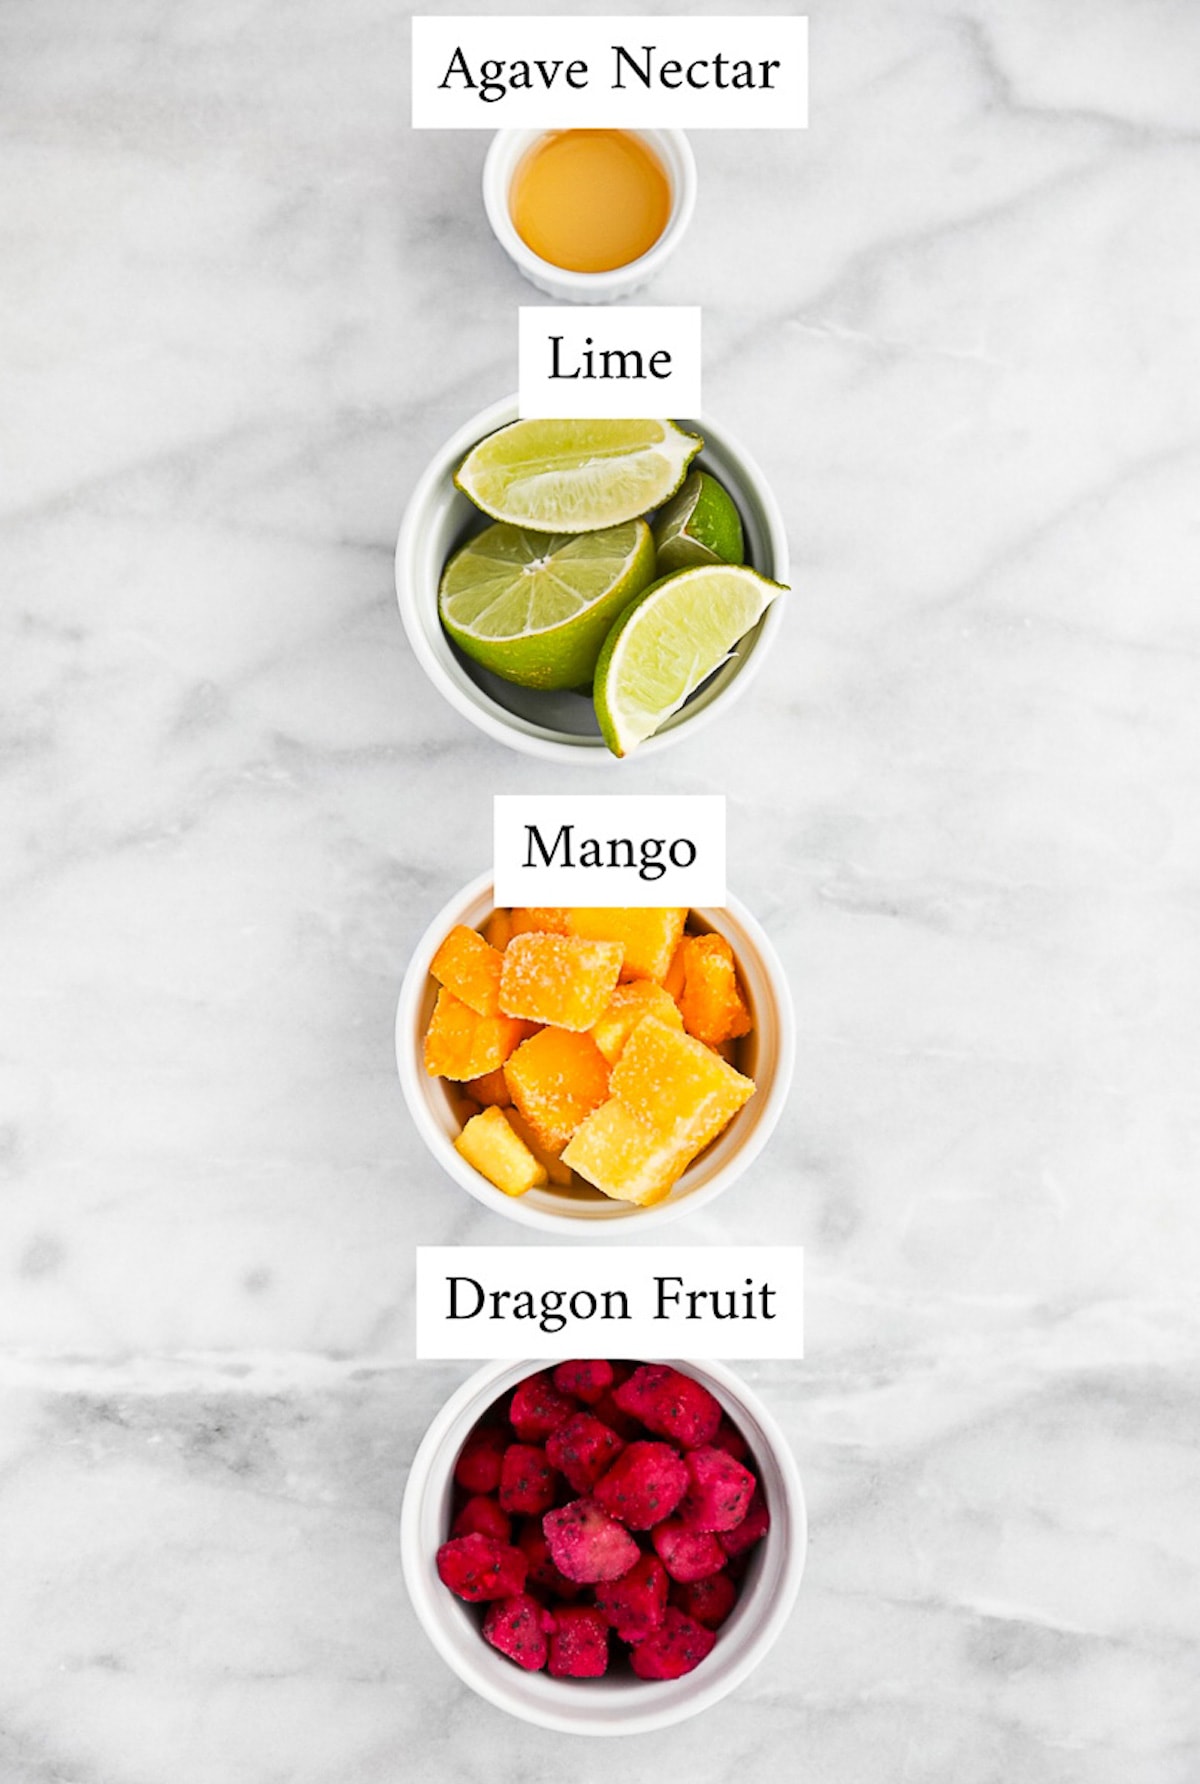
Dragon Fruit: I used pink frozen dragonfruit for this recipe. You can use fresh dragonfruit if you prefer, or have that on hand.
See below for more information and tips about dragon fruit.
Mango: I also used frozen mango in this recipe to give a more sweet and dynamic flavor. You can swap for fresh mango if you prefer.
Lime: I always recommend using freshly squeezed lime juice for the best possible flavor.
Agave Nectar: The agave nectar is a great way to sweeten this dragon fruit ice cream even more.
You can substitute the agave nectar for maple syrup, organic coconut sugar, or any other sweetener of your choice. You can also omit it if you prefer.
Water or Coconut Water: I like using a cup of water or preferably coconut water in this homemade vegan ice cream recipe for an extra boost of refreshing flavor.
See recipe card below for quantities.
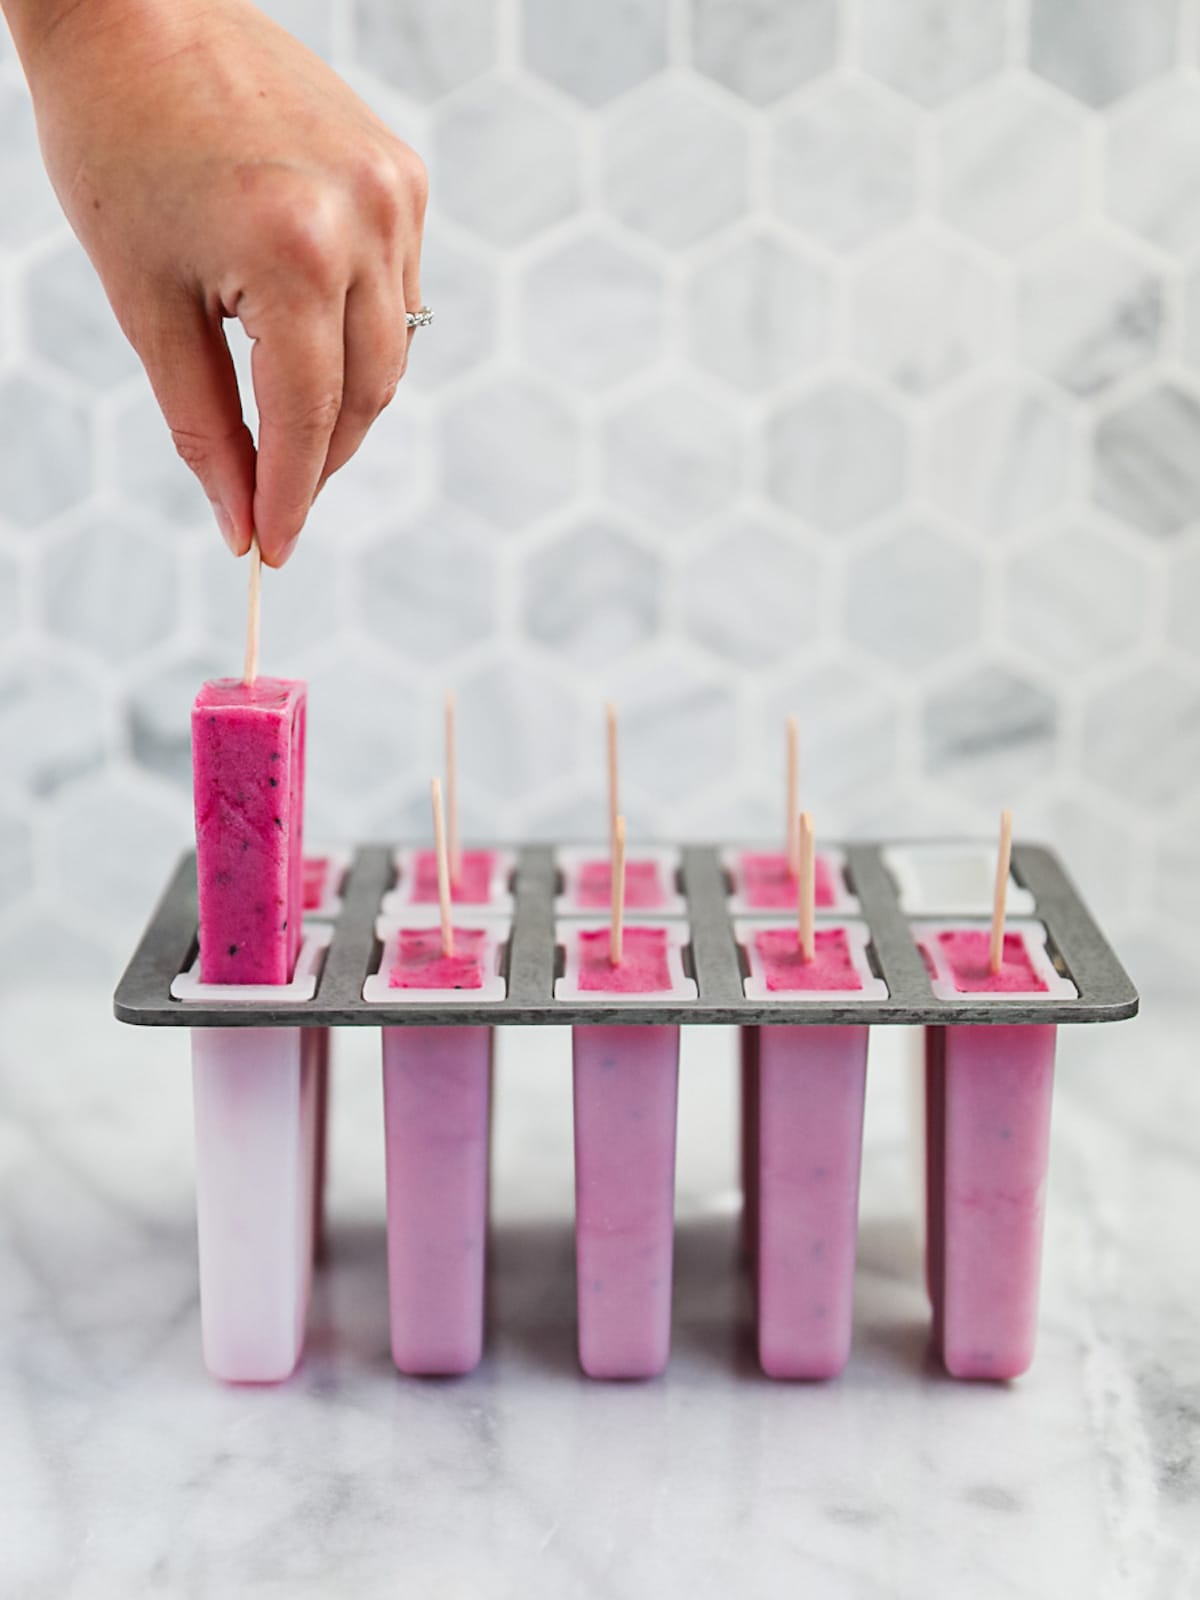
Top Tip: Make sure to set a timer for 30 minutes after placing homemade popsicles in the freezer. At the 30 minute mark insert the popsicle sticks into the slightly frozen popsicles so they stay in place!
How to Make Homemade Popsicles
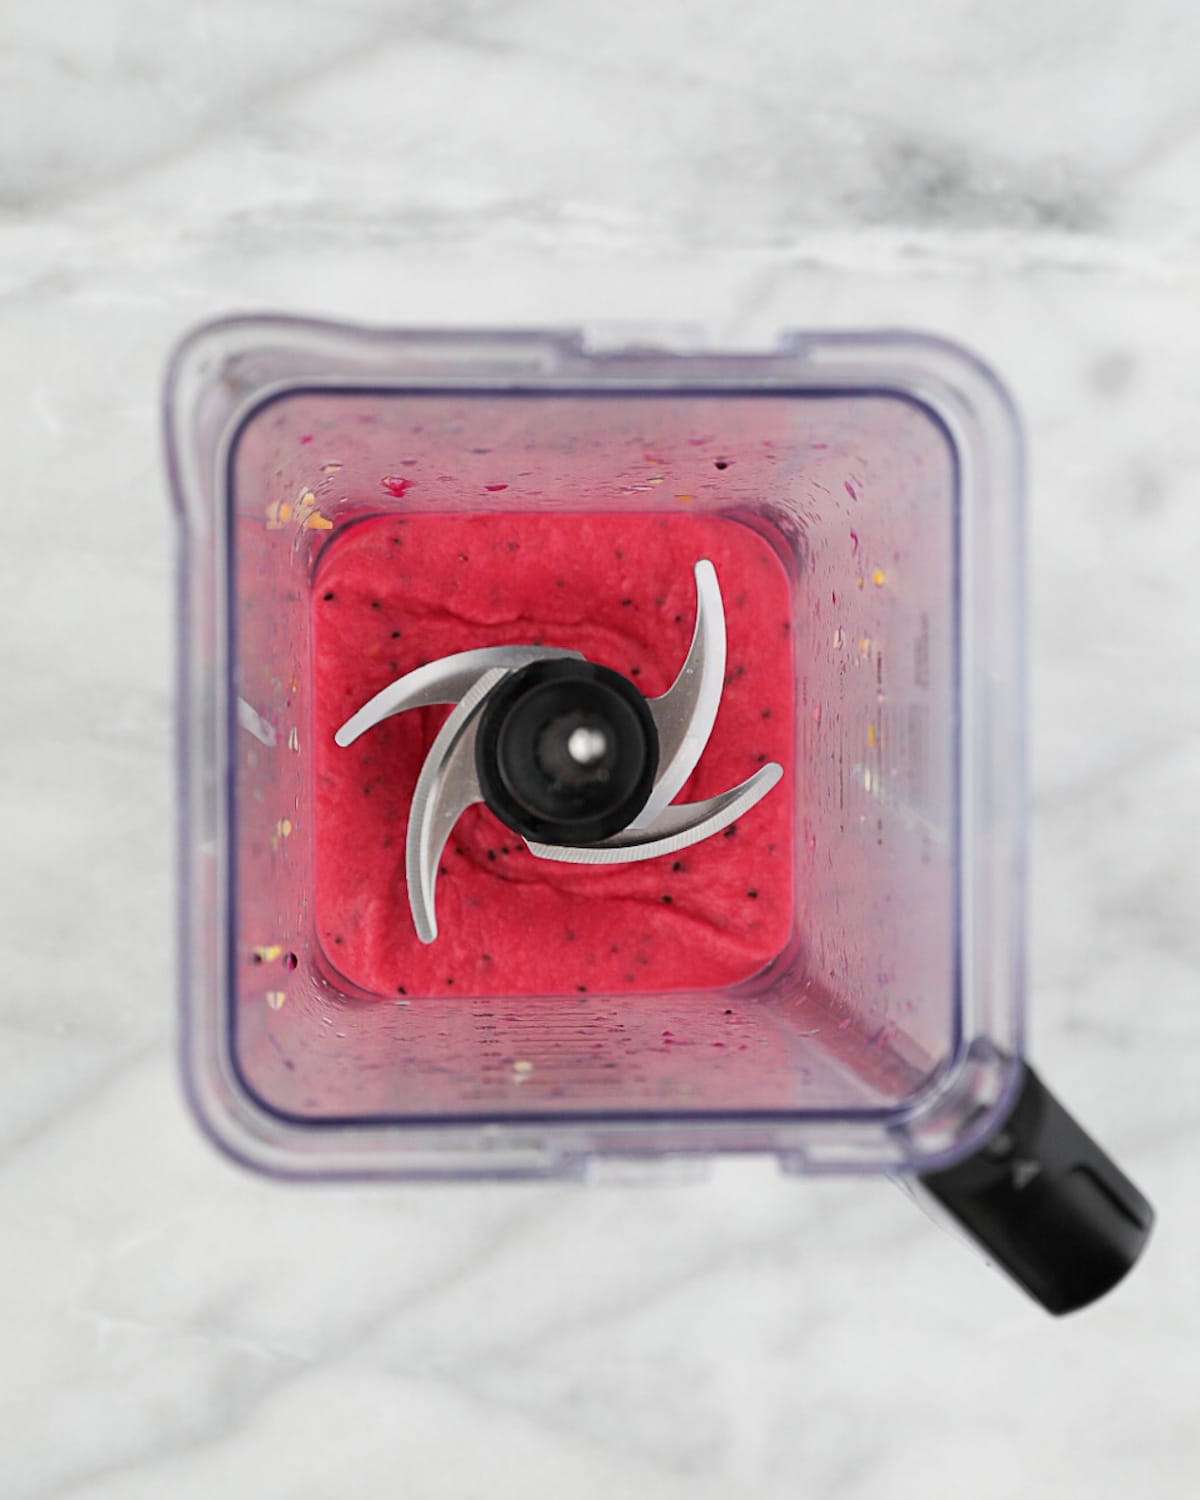
Step 1: Start by combining all ingredients in a blender and blending until smooth and creamy.
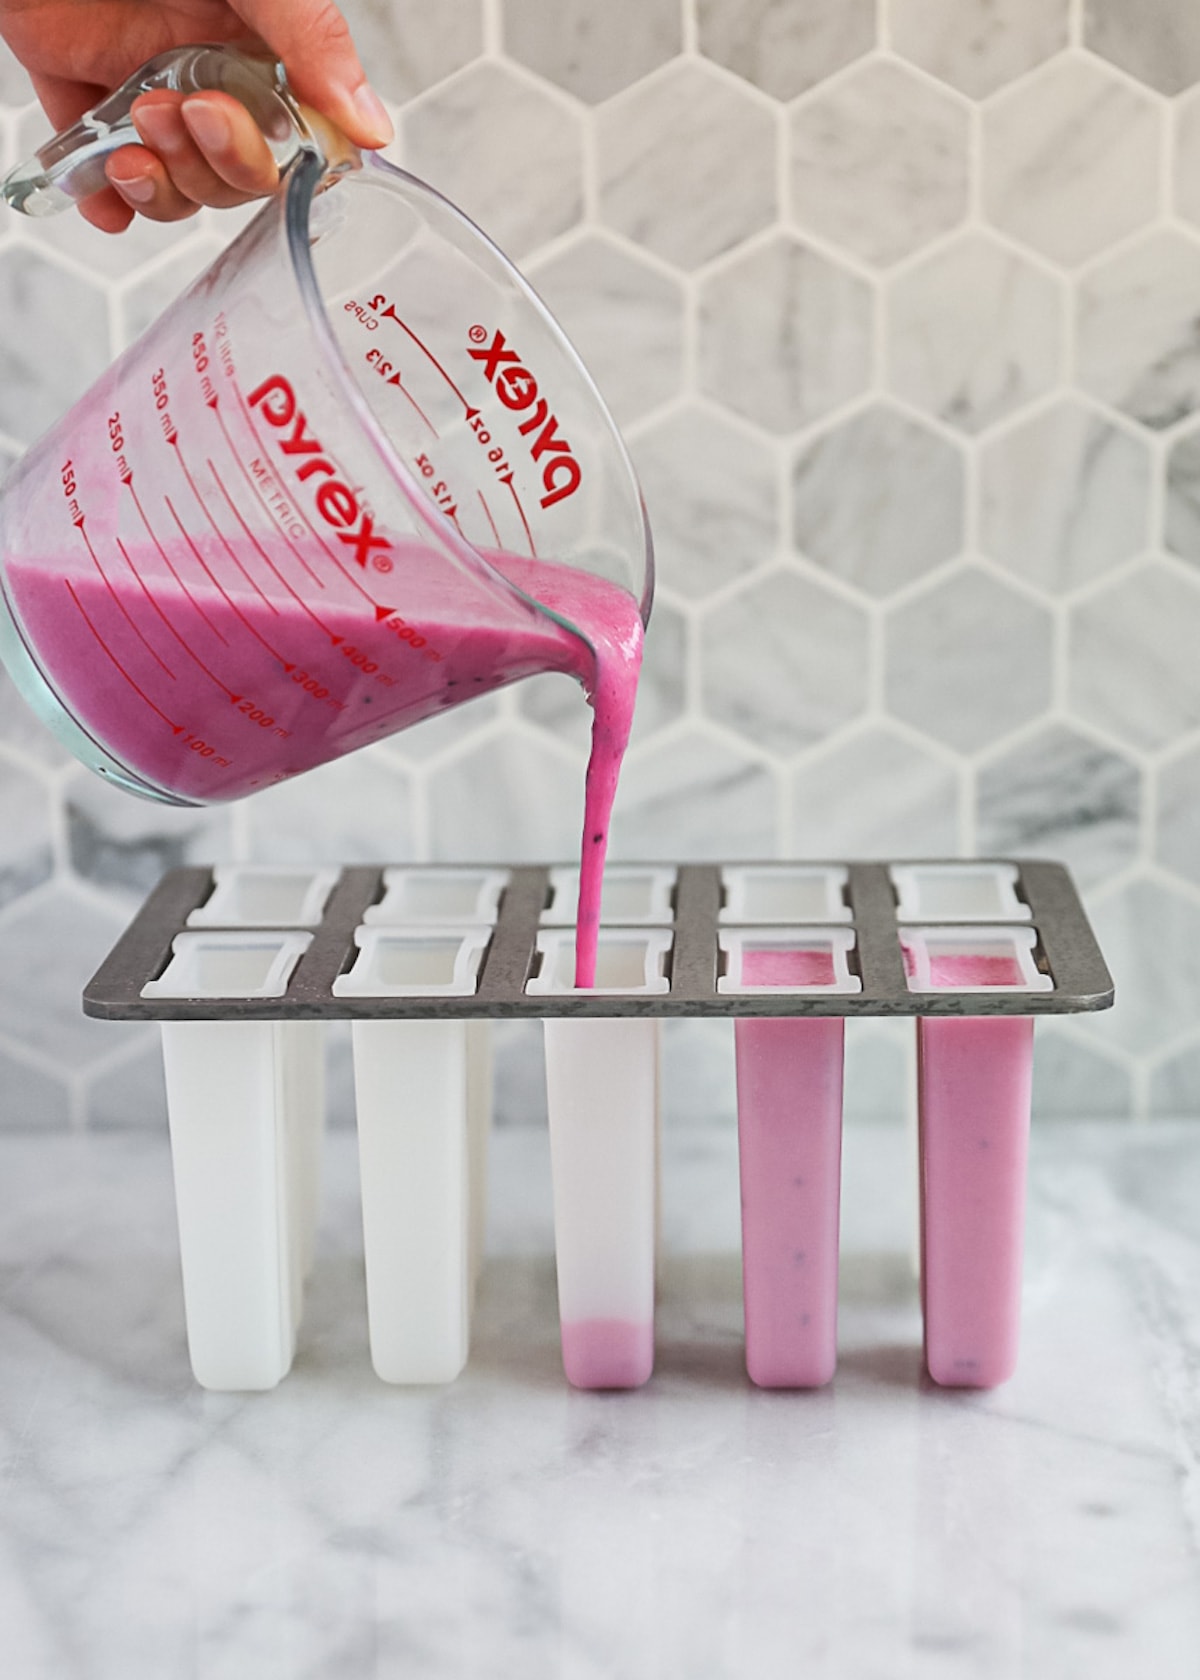
Step 2: Once blended, pour the mixture/frozen dragonfruit drink, into your popsicle mold to the fill line.
Be sure to leave a little extra room at the top.
Step 3: Place them in the freezer for about 30 minutes so they start to harden.
Step 4: Remove them from the freezer at the 30 minute mark to place your popsicle sticks. Then return them to the freezer for a few more hours until they are frozen solid.
Once frozen solid, remove your homemade dragon fruit popsicles from the molds and enjoy your easy frozen dessert!
Frequently Asked Questions
Dragon fruit, which is also known as pitaya or pitahaya, is a beautiful tropical fruit.
It tastes similar to a kiwi and is filled with tiny edible black seeds.
If you're brand new to dragon fruit and interested in learning more, check out this article about what dragon fruit it and it's nutritional benefits.

Tips, Tricks, and Notes
These vegan popsicles are made using fully plant based ingredients.
Feel free to make these plant based popsicles your own by swapping any ingredients to fit your needs and preferences.
If you're having a difficult time removing the pops from the popsicle mold, try running the mold under warm water for about 5 seconds, being careful not to get the actual popsicle wet. Then try removing again.
This dairy free homemade ice cream can be stored in a sealed container in the freezer for up to 3 months.
Serving Recommendations:
These gorgeous homemade dragon fruit ice pops are perfect to enjoy as:
- A homemade dessert
- No-bake dessert
- After-school treat
- Summer snacks or desserts
Try these refreshing recipes next:
If you loved this recipe or any recipe on my website, please consider leaving a star rating or a comment below. I love hearing your feedback!
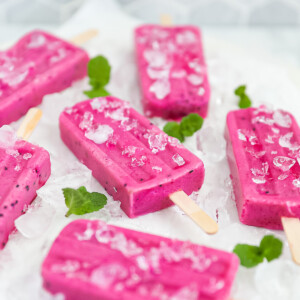
Dragon Fruit Popsicles
Equipment
- Blender
- Popsicle Mold
- Popsicle sticks
Ingredients
- 2 cups dragon fruit
- 2 cups mango
- 1 cup coconut water
- 1 tsp agave nectar Can substitute sugar or omit
- 1 teaspoon lime juice
Instructions
- Combine all ingredients in a blender until smooth.
- Pour the mixture into a popsicle mold and place in the freezer for about 30 minutes. Remove and place your popsicle sticks in the pops.
- Place back in the freezer for another few hours, or until frozen solid.
- Remove and enjoy!


Nourish says
That color is incredible!!
joycesmysteryandfictionbookreviews says
I loved seeing your colorful site.
Planted in the Kitchen says
Thank you so much!! â¤ï¸
Bhanushree Kiran Diyaansh⤠says
Looks cool
Bhanushree Kiran Diyaansh⤠says
I must try thisðŸ˜looks cook